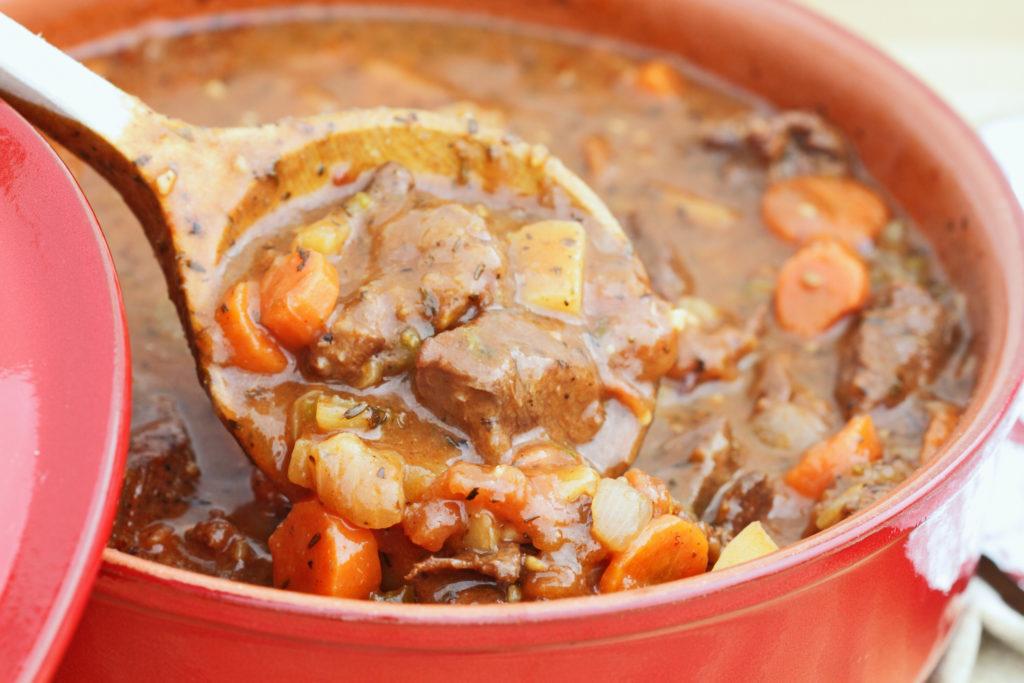
Great venison stays great only when it’s wrapped and frozen properly. Put these techniques to work to preserve your bounty better and longer.
Do you know one reason deer hunting seasons are traditionally held in autumn and early winter? There are few biological reasons to hunt deer only at those times of year, other than being able to tell a buck from a doe. True, the first game managers did not want to kill does with dependent fawns still in tow. But buck-wise, how does it matter if you remove that antlered deer from the herd in June, August or November?
One of the reasons for cold-weather hunting seasons finds its roots in the cool to cold weather required for preservation of the harvest. In the days before widespread electrification and then reliable freezers, fall and early winter hunting afforded a hunter a chance to preserve fresh meat for at least a few weeks to a few months, depending on his latitude in deer country.
Of course, today we have much better options for preserving venison. Making sausage products, as well as drying and smoking meat, are important parts of the venison processing scene, just as those techniques were way back when. But what we do have now is the ability to freeze meat and enjoy steaks, chops, roasts and ground meat long after we shoot that deer.
Here’s a case in point. Rural electrification didn’t come to parts of the United States until the 1930s and in many rural areas, until the 1940s and even 1950s. Relatives of mine in the hills of southwestern Wisconsin, as well as the “outback” of central Nebraska, didn’t get electricity lines to their homes until the late 1940s!
But just throwing meat in a freezer has never been a good idea. In fact, the better and more thorough the techniques you use to package and wrap venison, the longer it will last in the freezer and the better it will taste. Let’s explore all of the impor- tant factors that go into wrapping and freezing venison.
FREEZER OPTIONS When I started a family and then began deer hunting seriously to help feed said family, it quickly became clear that the top freezer compartment of the family refrigerator wasn’t going to do the job. First, it didn’t have enough room to hold much more than the meat from one boned deer (and then, there was little to no room for anything else). Second, refrigerator freezer units just don’t stay cold enough for adequate long-term storage. Solution? A dedicated full-time freezer unit. You have two basic options.
Chest Freezer — Shaped like a box with a hinged lid on top, a chest freezer (also known as a deep freeze) is a top choice for freezing meat for extended periods. The advantages of a chest freezer focus on its ability to stay colder, longer. Since cold air sinks, it’s hard for it to escape when you open up the unit to retrieve an item. This also helps in the event of a power outage; a chest-style unit will keep meat frozen longer.
The disadvantage of chest freezers is related to access. Opening up that lid and digging through a cavern-load of packages can get challenging. Hanging baskets that bridge the freezer’s top edges offer some organization possibilities. In the main freezer, you can use stackable baskets.
For economy, I merely employ heavy-duty shopping bags to organize meat: ground venison in one bag, chops, steaks and roasts in their own bag(s), and so forth. Either way — baskets or bags — you’re moving fewer pieces around instead of sorting through dozens of smaller, individual packages, to locate what you want. Place meat you won’t use for a while at the very bottom of the unit. It is consistently coldest there, and that will help the meat last longer.
Upright Freezer — Upright freezers are just that, they stand upright just like your refrigerator. Uprights, with their shelves, make it easy to organize and access all of the pack- ages you store inside. Another advantage is that most upright freezers have an auto-defrost feature. This actually means the freezer compressor turns off for a while, usually daily, for a few minutes. A small fan then uses warm air to melt accumulated frost. This keeps the freezer efficient, and does little to hurt your meat. The auto-defrost cycle only adds a degree or two before the freezer coils kick back in and the temperatures cool back off.
The only real disadvantage of an upright freezer is that it does not stay quite as cold as a chest freezer. And when you open an upright’s door, everything inside is exposed to warm air briefly, unlike when you reach into a “deep freeze.”
Freezer type preference is a personal choice, and you probably already have one in use. What’s more important to the long-term preservation of your venison, though, is how you wrap it before freezing.
MEAT WRAPPING OPTIONS Three chief concepts come into play when it comes time to wrap your fresh-cut venison for the freezer.
No. 1 — Air is the enemy of frozen meat. The less oxygen that reaches the meat, the less chance it has to dry out, build up freezer burn and lose taste. It’s that simple.
No. 2 — Larger pieces of meat mean there is less meat exposed to air. If you can freeze “hunks” or “chunks” of meat and do final cutting chores later, after thawing, your meat will last longer in the freezer. Example: Save a hunk of front shoulder meat for stew, but keep it intact and only cut it up into stew chunks after thawing.
No. 3 — The colder the better. Zero (0) degrees F or colder is the optimal temperature for preserving meat. Recommendation: Set your freezer at the coldest temperature possible. The small incremental cost to keep that freezer running more often is worth it, to maintain the quality of your prime venison. Plus, the colder the meat is before any power outage happens, the longer it will last until electricity is restored.
Nos. 2 and 3 are easily enough done. No. 1 is critical: How can you wrap meat to eliminate air and make sure it lasts a long time in good shape? There is a hierarchy of good to better to best options:

Good: Enclose in Plastic Freezer Bags — The easiest way to package venison for the freezer is in high-quality (thick-walled) plastic freezer bags. Be sure to purchase bags marked “freezer,” not “food storage.” Food storage bags will be too thin to effectively protect your venison from the cold.
Don’t freeze venison in plastic freezer bags if you are expecting the meat to last more than six months in the freezer. Why? You pay a price for the convenience: Just throwing meat in a bag and sealing it up isn’t going to eliminate all the air around the meat. Oxygen (see point No. 1 above) is meat’s worst enemy in the freezer.
That said, there are techniques for minimizing air inside the bag. One way is to squeeze and roll the bag around the meat as you go, and attempt to sneak the seal shut while the air is still out. This doesn’t work perfectly, but it can go a long way toward eliminating most air.
Another trick is to roll and squeeze the bag to get most of the air out and almost close off the seal, then insert a tiny-diameter straw into the opening and suck out any air you can before finishing the seal-up.
I butchered a small buck during Wisconsin’s gun season last season and bagged the meat in plastic bags to save time. We consumed the deer in two months, though, and that was by design or I would have wrapped it better.
Better: Wrap in Freezer Paper — Freezer paper is a better choice for wrapping venison. Be sure to purchase the classic freezer paper that features a waxy layer on one side. That is the side on which you will put the meat. You can wrap meat directly in freezer paper, but a better method is to wrap the meat in plastic wrap first (many of us just call it by the brand name, Saran Wrap) before wrapping in the wax paper.
Lay the meat you want to freeze on a large sheet of the plastic wrap. Fold, roll and wrap, squeezing to remove air. Then put the plastic-wrapped meat on a sheet of freezer paper, and wrap again. There are good YouTube videos out there on the technique for wrapping with freezer paper, but that general fold/roll/wrap process works best. Squeeze out excess air as you go, then tape the package shut.
Best: Seal Using a Vacuum Sealer — The best plan of all for freezing butchered venison is to employ a vacuum sealer machine. This is a perfect packaging solution because it removes almost all of the air from the package, and it uses high-quality material. A vacuum sealer is easy to operate. Here are some tips for using one effectively.
• Seal the bag material’s first side. Heat seals up one edge.
• Remove the resulting bag and place meat in it.
• Put the other (open) end of the bag in the machine and close/lock. Turn the machine on and air will get sucked out, followed by the edge of the bag heat-sealing shut.
• Don’t overfill the bag. A little extra bag material used is a small price to price to pay for a great seal.
• Smooth out as many wrinkles as you can in the bag before and during the vacuum and sealing process to help keep air pockets out.
• If you’re unsure of the seal, do it over. Better to use a little more time and material than ruin a perfect set of chops or steaks.
Weston Supply (www.WestonSupply.com) offers a complete lineup of vacuum sealer units and supplies for the home deer butcher. Weston’s Harvest Guard and Professional Advantage Sealers begin the selection, with models going all the way up to the Weston Pro Series. The Realtree Sportsman’s Advantage Sealer is a great unit, and perfect for venison processing at home.
Good-quality bag material for any sealer unit can seem like a significant investment, to be sure. But it’s a small price to pay for premium taste when you thaw that meat later. And it’s also a small price to pay compared to what it took to harvest that deer (in terms of money and time) in the first place!
WATCH: MAKE LATIN AMERICAN VENISON BRAISED IN WINE
How Long Will Your Venison Last? So how long will your venison last in the freezer? Many factors come into play — air access, temperature of freezer, wrapping material used — but in general one year is the target time frame for finishing off venison. This also gives you reason to go back out hunting! Given a 0 degree F freezer, the following recommendations apply for meat longevity:
Plastic Bagged: 3 to 6 months. Double Wrapped Freezer Paper: 6 months to 1 year. Vacuum Sealed: 1 year to 15 months.
From young-of-the-year whitetails to adult does and bucks, small and big, every deer you shoot offers up a bounty of prime venison. It’s your job as a hunter to take the best care you can of that blessing of whitetail meat. Wrapping it right and freezing it well is an integral part of the process. Put these approaches to work and enjoy every last morsel of that venison.
— Tom Carpenter is an avid deer hunter and outdoor writer from Minnesota.
+++++
Get Ready for Your Best Venison Venison for Dinner guides you every step of the way from the field to the table. No detail is left out-from proper field dressing and butchering to storing and preparing your venison. You also get the Viking Deer Splitter to avoid dulling your knife when using it to cut open the chest or split the pelvic bone. Avoid cutting yourself or someone else with a knife while cutting through these difficult areas. When you’re done preparing your venison you’ll have 301 recipes to cook it for yourself or guests! Get your collection here.


